

Getting Started
From a raw chapter to your first translation
Set the project once, bring in a chapter the way that suits the source, then review only as much as your story needs.
The core workflow
If you are deciding between another ready-made MTL library and translating chapters yourself, the MTLNovel alternatives guide explains how those two paths differ.
1. Create a project
Choose Novel for an original work or Fanfiction for a fan work. Fanfiction projects also ask you to select at least one source work so canon names can inform entity recognition.
Choose the target language carefully. It is saved when the project is created and shown as read-only afterward, so a different target requires a new project.
2. Import a chapter
You can bring in chapter text in four ways:
- Paste the chapter's public URL.
- Upload a TXT or EPUB file.
- Paste the raw chapter text directly.
- Upload one or more screenshots and let the importer extract the text.
For screenshot import, choose Screenshot, add your PNG, JPEG, or WebP images in reading order, then select Extract Text. You can reorder or remove images before extraction and correct the extracted text before continuing.
For the limits and failure paths of each option, see the import methods guide.
Very long imports are split into manageable chapter parts automatically. The translation process also segments long text internally so it can continue streaming rather than waiting for the whole chapter at once.
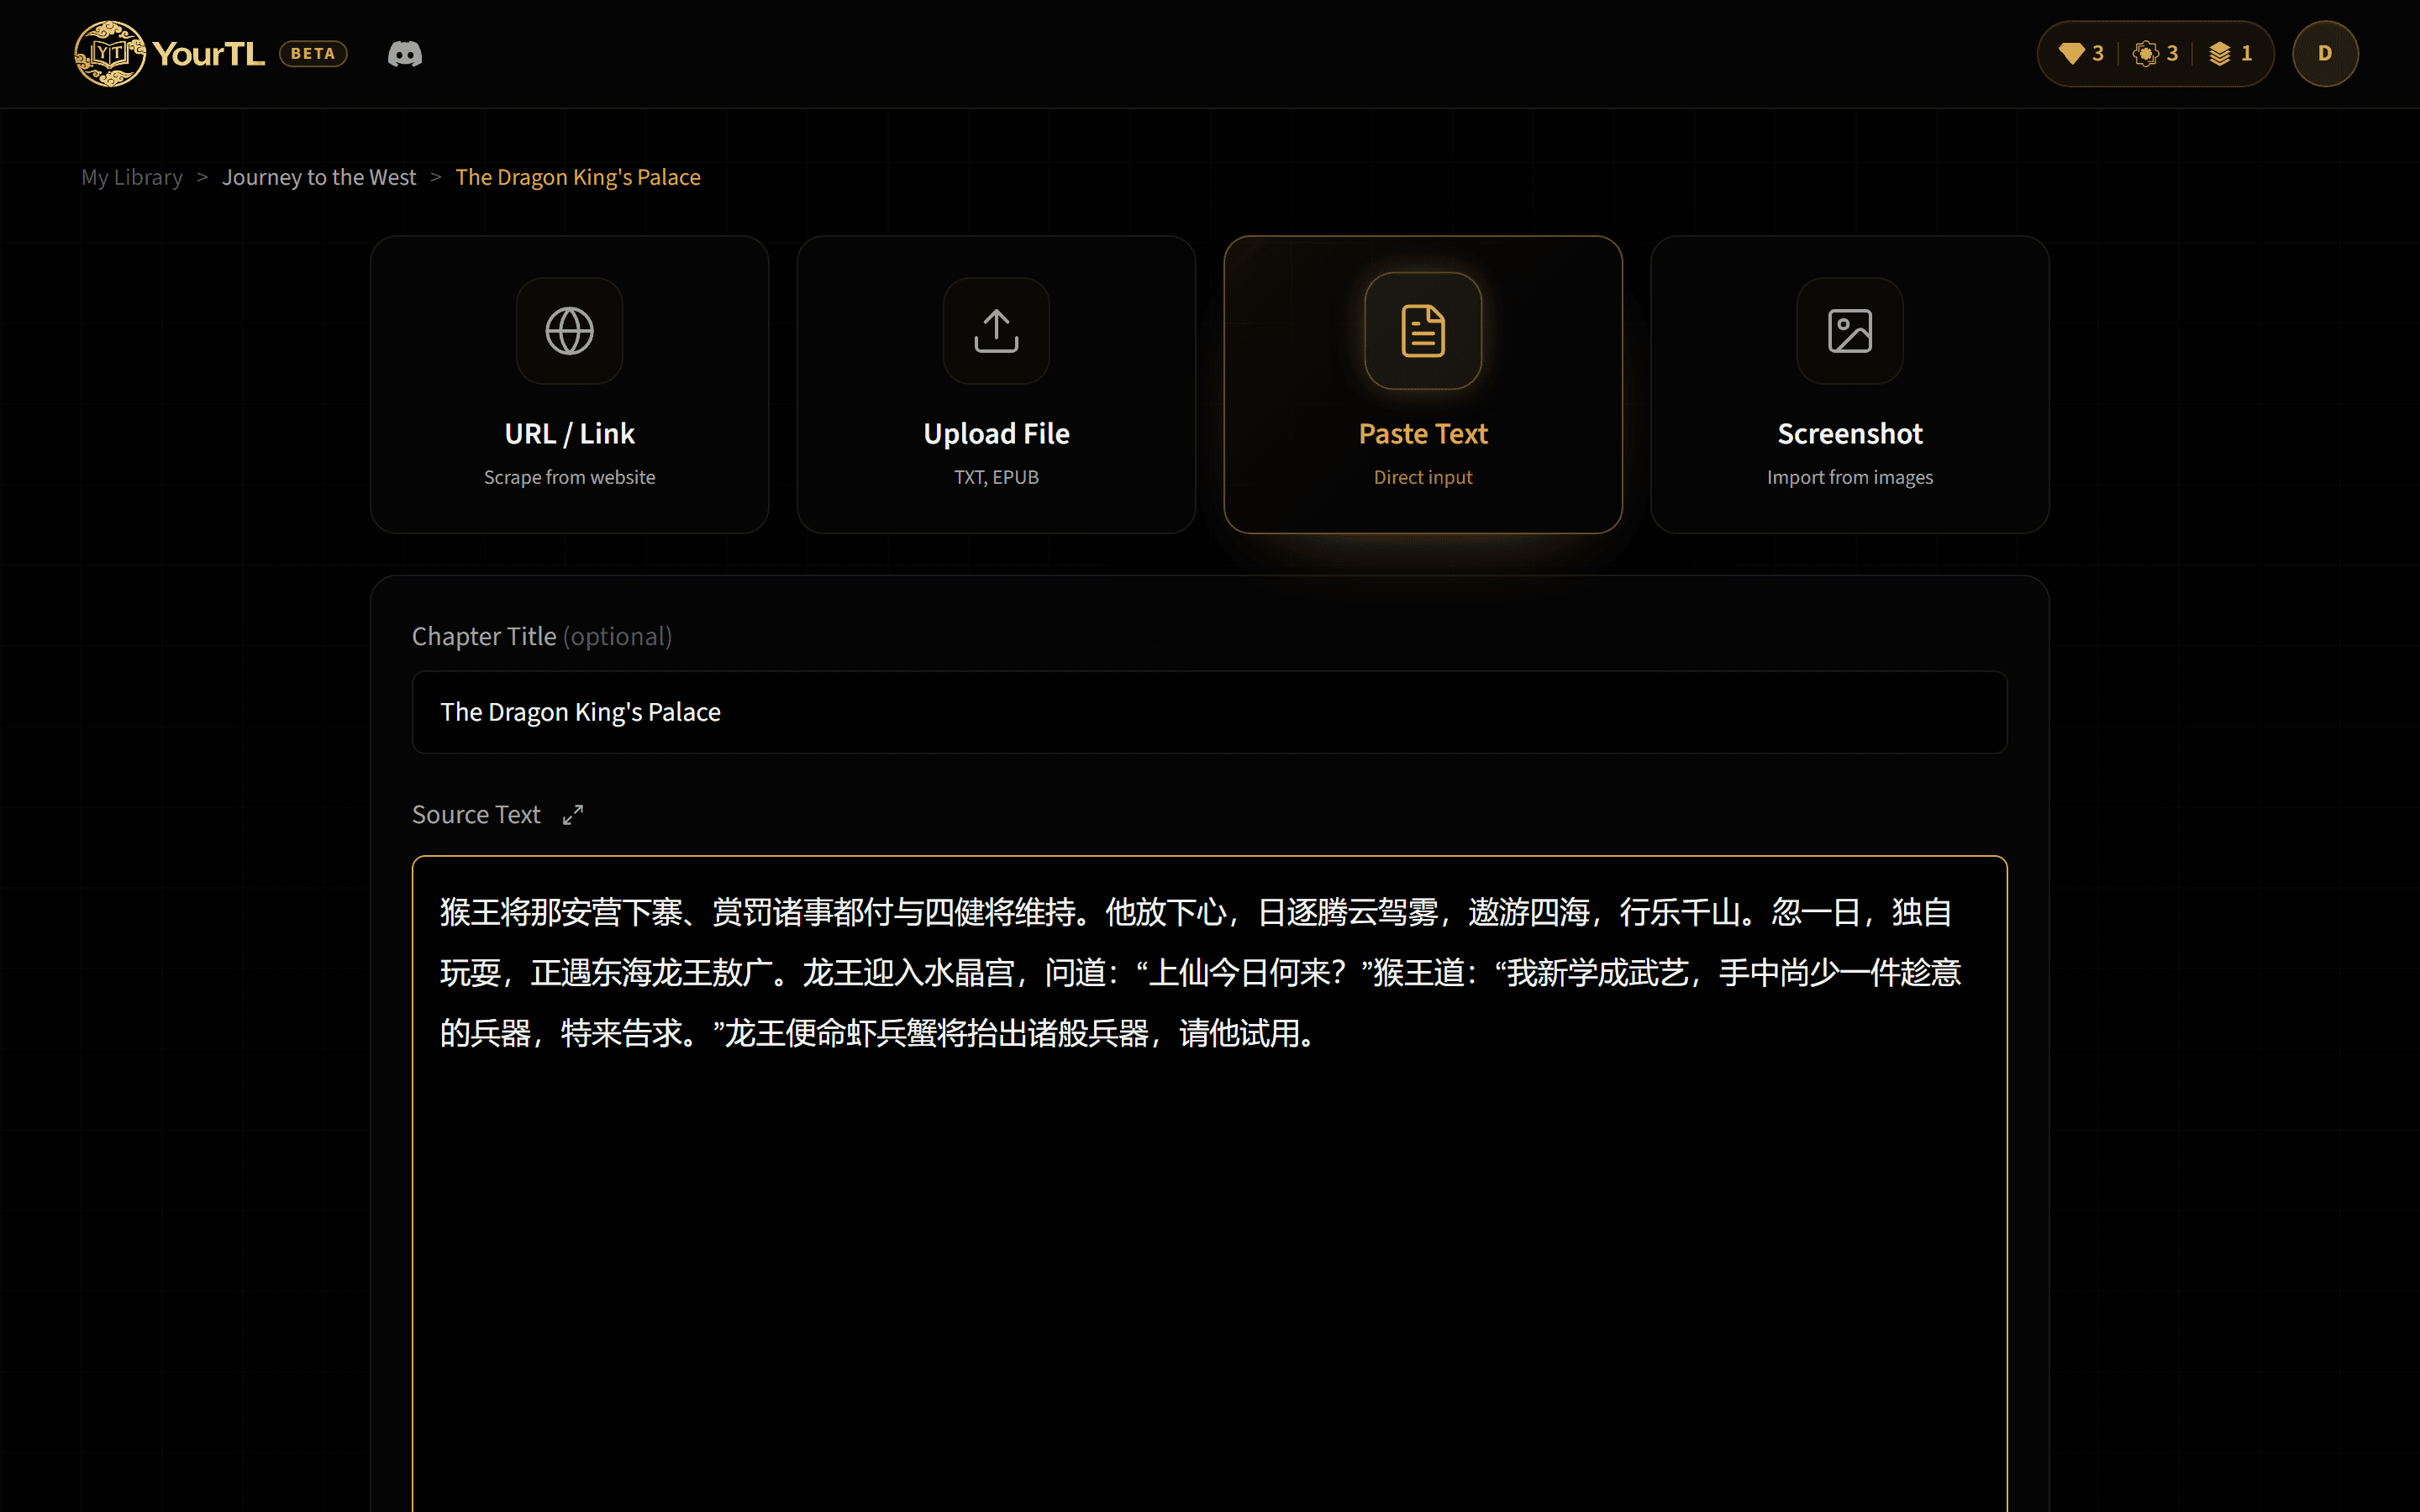
3. Review new entities when needed
With entity extraction enabled, the importer looks for characters, terms, and locations. When review is enabled and new entities not already in your glossary are detected, the review step appears before translation. You can edit their translated names, set or correct character genders, and use the detected entity type for context.
Otherwise, translation proceeds directly. Any newly detected entries are still synced to the project glossary.
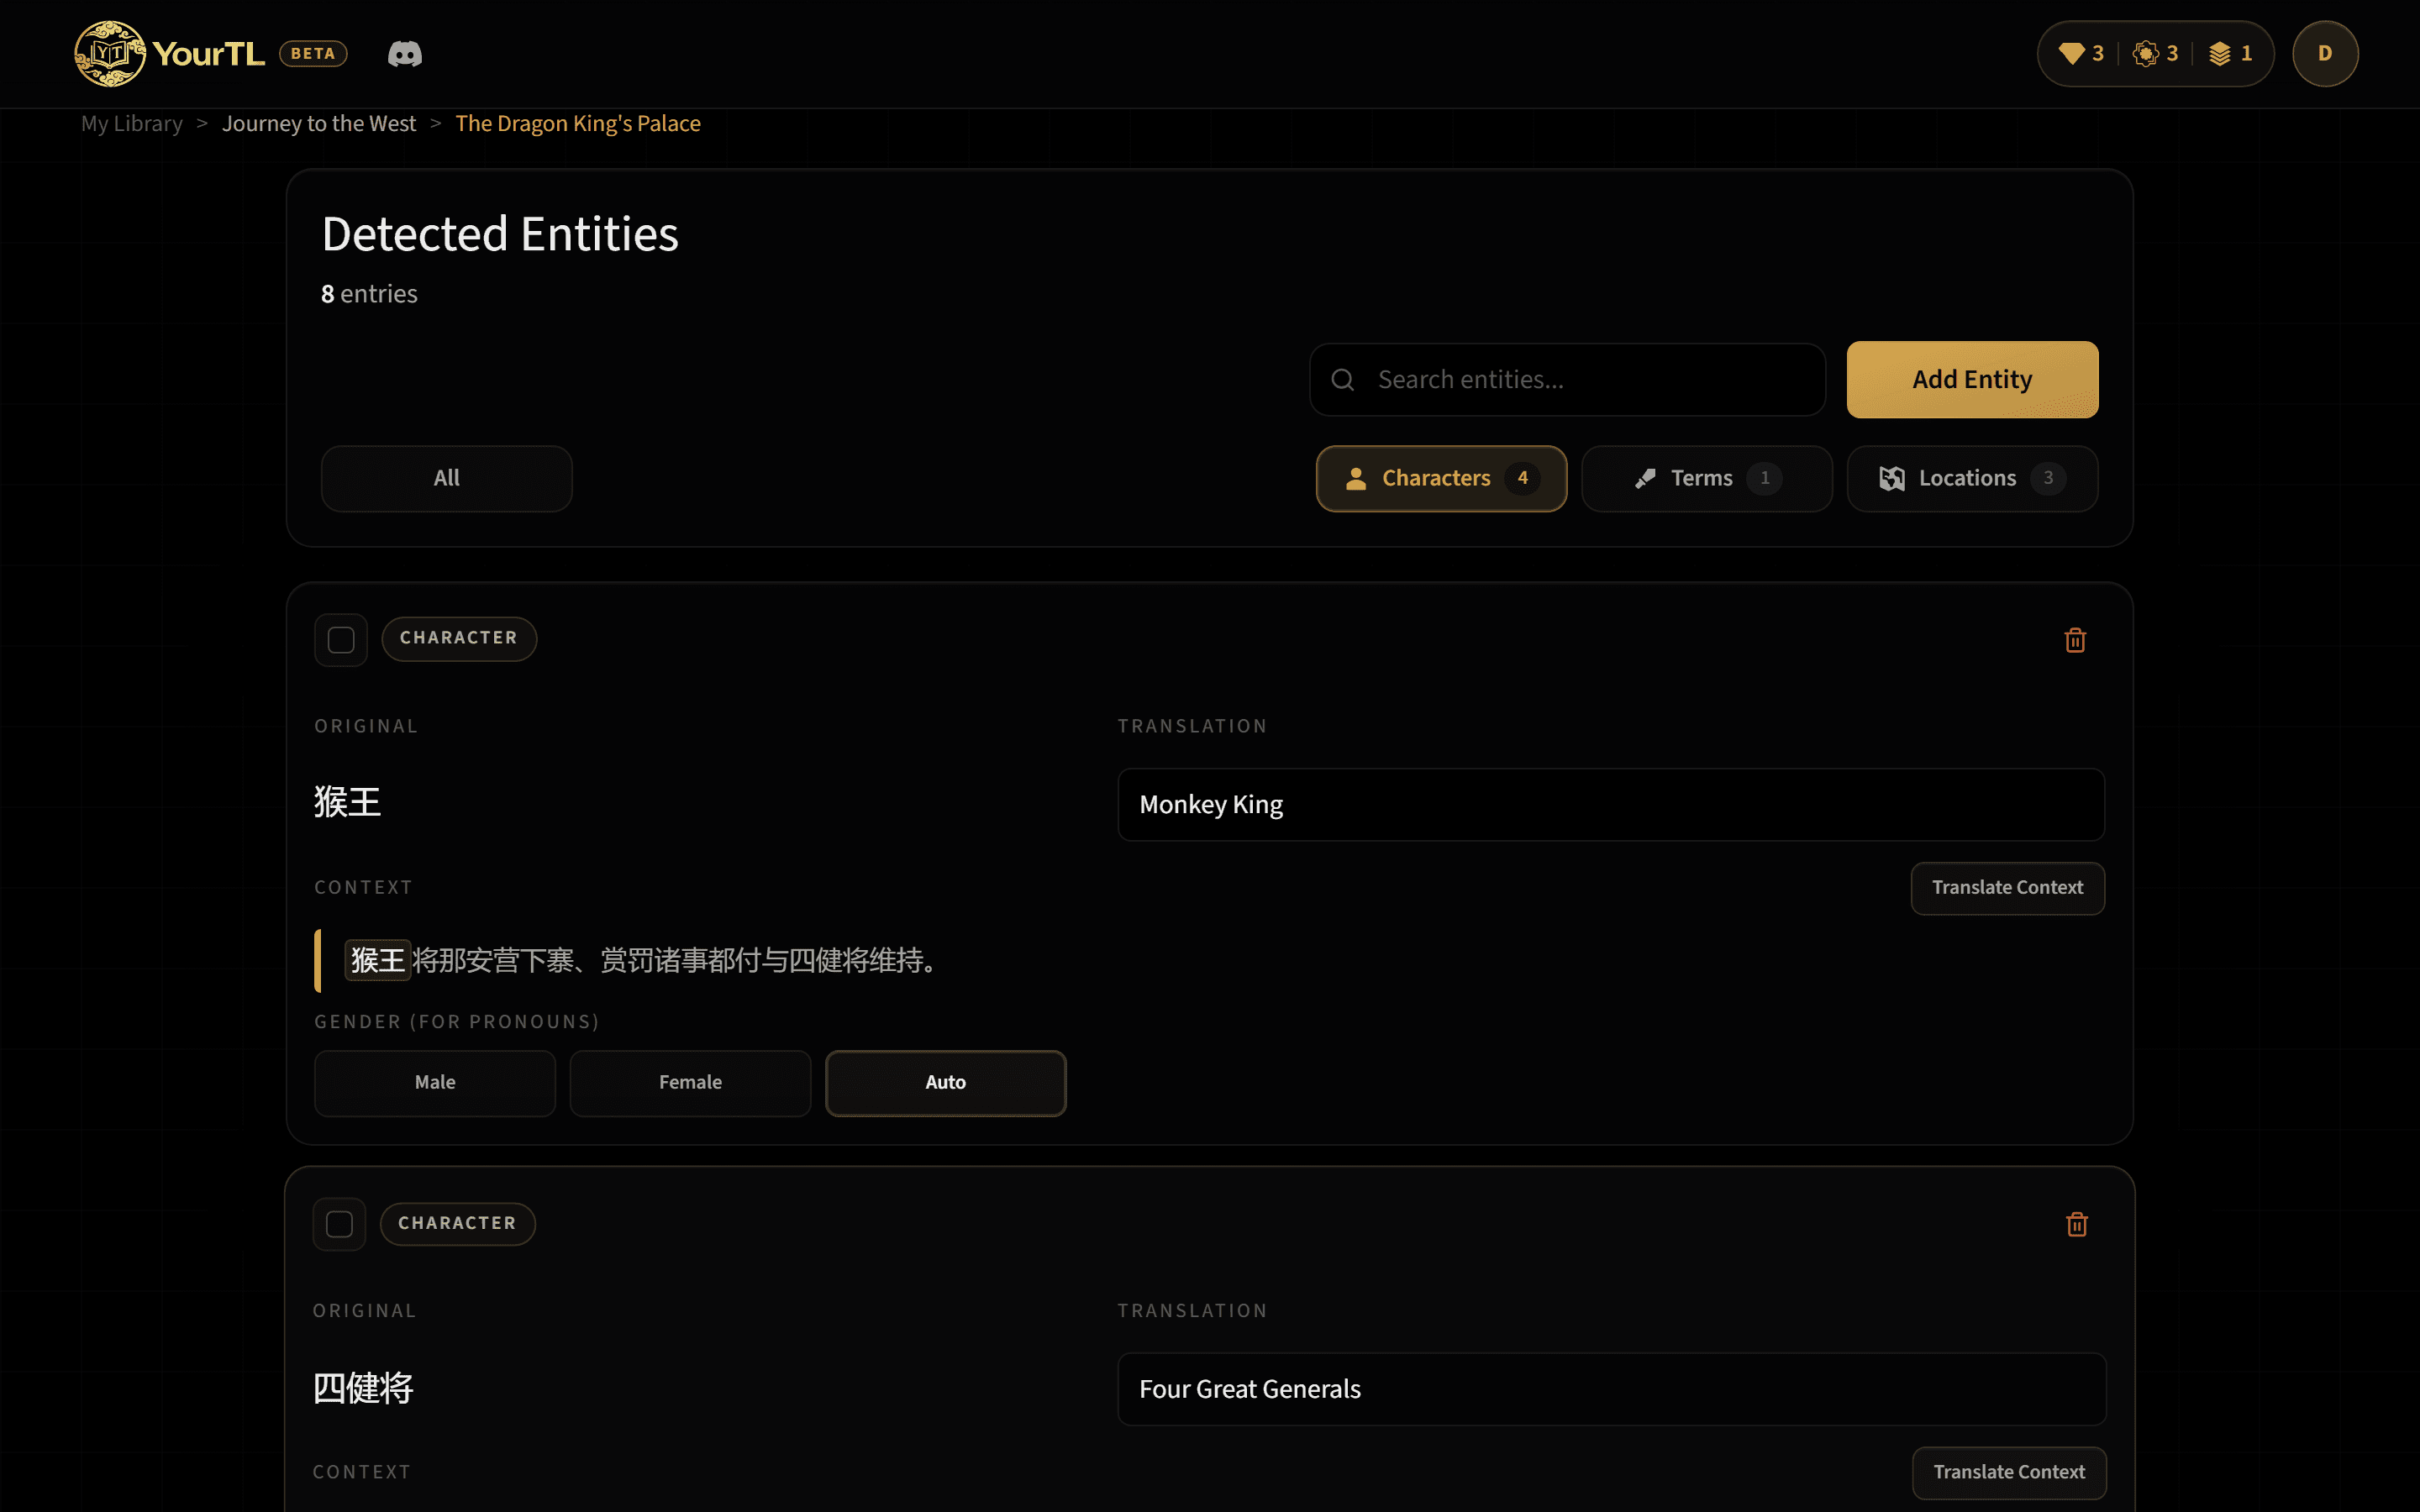
4. Translate
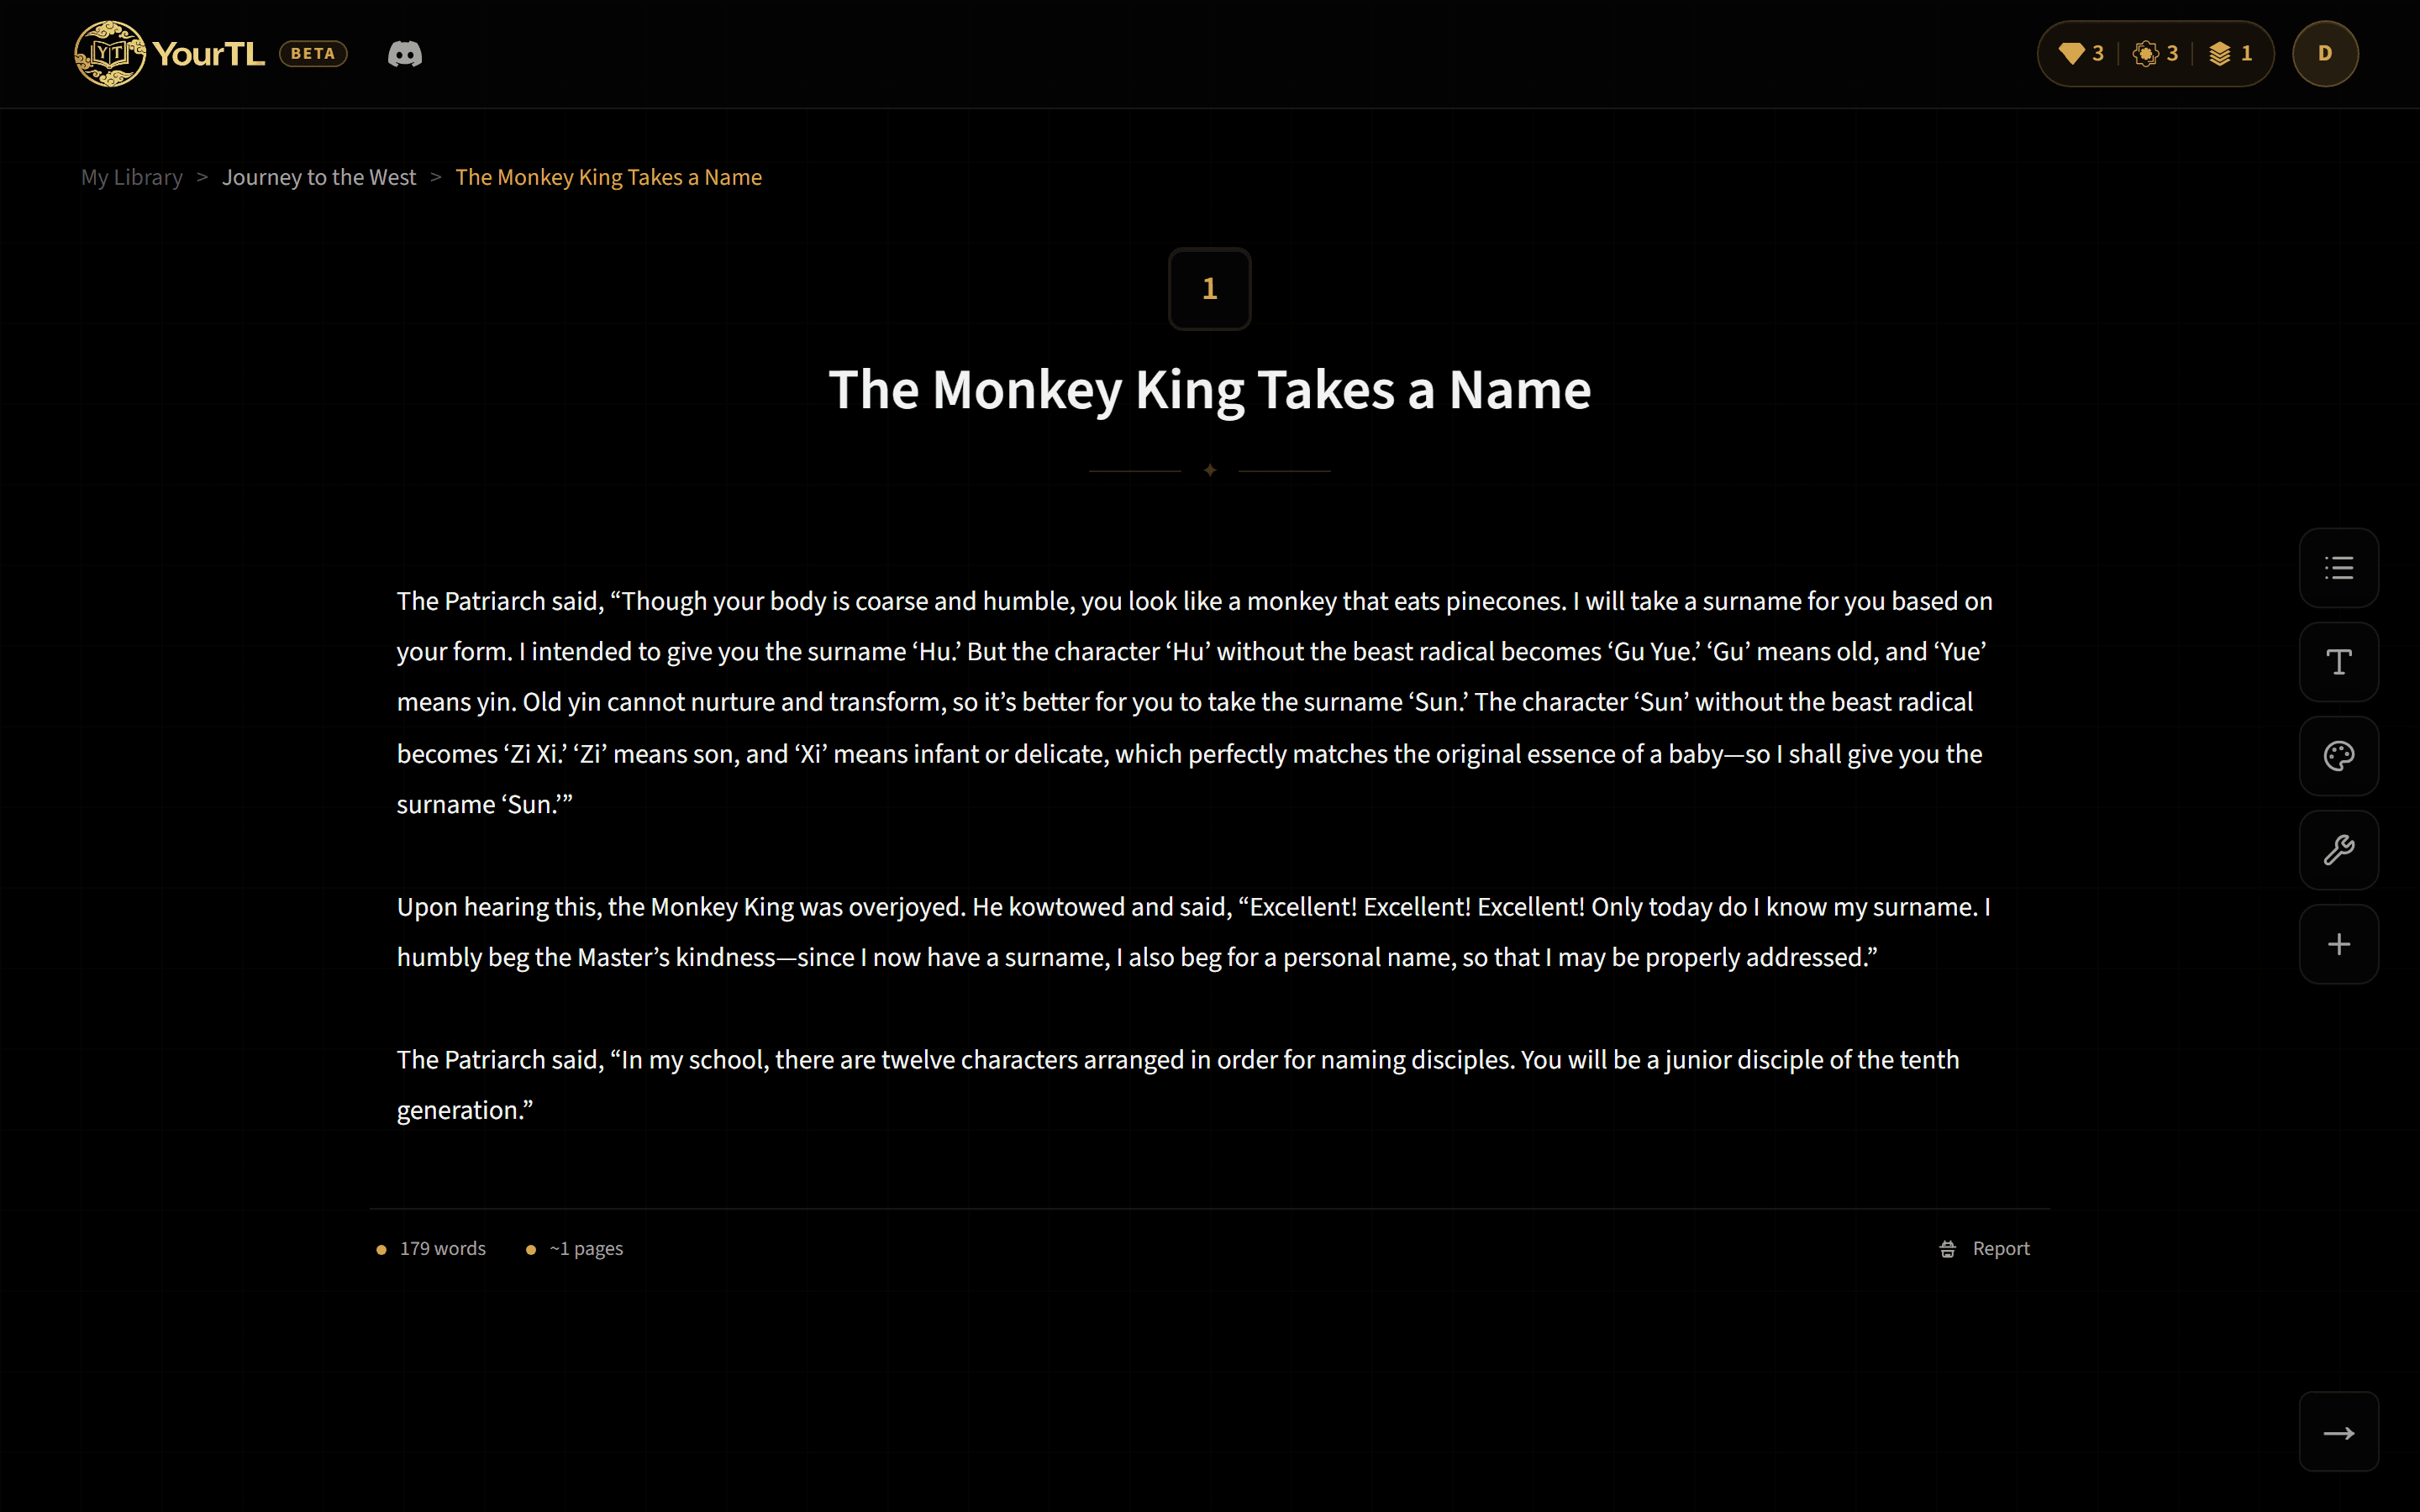
Start the translation and the result appears progressively as it streams. The project glossary is loaded so relevant saved names and terms can be included as guidance for the chapter.
5. Read, edit, and export
Completed chapters are saved back to the project library. Open a chapter to read it, switch into editing when a sentence needs your touch, and save the revised text. When you want a file for an e-reader, export one or more translated chapters as EPUB.
A successful EPUB export uses one Service credit. The full credit rules are covered in the AutoTL Next and EPUB guide.
How to take screenshots on desktop and mobile
A regular screenshot is useful when a chapter fits in a few screens. A full-page or scrolling screenshot captures the part of a webpage below the visible area as well.
On a computer
- Regular screenshot: on Windows, press Windows + Shift + S. On Mac, press Command + Shift + 4, then select the area to capture.
- Full page in Chrome or Edge: open developer tools with F12 or Ctrl + Shift + I (Command + Option + I on Mac). Open the command menu with Ctrl + Shift + P (Command + Shift + P on Mac), type Capture full size screenshot, then run that command.
- Full page in Firefox: press Ctrl + Shift + S (Command + Shift + S on Mac), choose Save full page, then download the image.
On a phone or tablet
- Android: press Power + Volume down for a regular screenshot. For a whole page in Chrome, open the three-dot menu, choose Share, then Long screenshot, extend the crop handles, and save. On Android 12 or later, you can also take a regular screenshot and tap Capture more when that option appears.
- iPhone or iPad in Safari: press Side + Volume up, or Side/Top + Home on a device with a Home button. Open the screenshot preview, choose Full Page, then save it as an image to Photos. Choose the image option rather than PDF for screenshot import.